To Register or Not to Register? Is That a Question?
There are several different methods for registering your prints when using a gel printing plate, but is it even important? It probably depends on who you ask. As a self-taught artist who had very little printmaking experience prior to discovering gel plates, my answer is a definitive...maybe?
First, what is registration? In printmaking, registration refers to how you arrange your paper and plate to ensure multiple layers are correctly aligned as you build your print.
There are multiple ways to successfully do this using a gel plate for printmaking:
1. The simplest method is to place a piece of paper underneath your gel plate that is the same size as the paper you'll be using for printing. Just line up the edges of your paper with the paper underneath the gel plate with every pull.

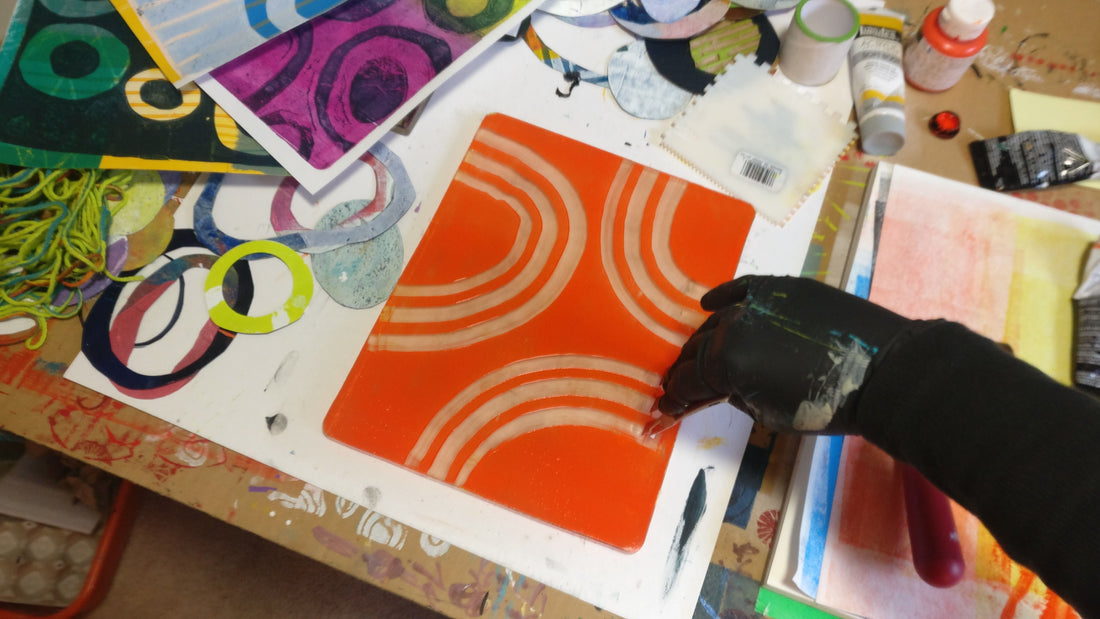
2. Lay your printing paper next to your gel plate. Tape the paper's edge closest to your gel plate to the work surface, but very close to the plate (see image). Flip the paper onto the top of the plate in the same place each time. Some artists tape a piece of paper to all four sides and work on multiple pieces simultaneously. This works best if the paper is at least 1 inch longer and wider than the plate you are using. And, make sure the gel plate doesn't move between prints!
3. Lay your gel plate on a thin piece of acrylic or Plexiglass that is slightly larger than the size of your plate. After applying paint to the gel plate, you can carefully pick it up using the acrylic/Plexi (it will stick!), flip it over, and press it down onto your paper. Because you can see through the acrylic and the gel plate it can be easy to line up layers this way. I find that this method is easiest to do with smaller gel plates.
4. Finally, you can purchase or DIY your own printing placement tool. GelliArts brand sells a "Perfect Placement Tool" that some artists love. You can also do an internet search and find methods to make your own version.
Regardless of which method you choose, it helps to place an arrow pointing up on the reverse side of your paper near the top to ensure you have the paper facing the same direction with each printed layer. (Although this is less important if using the acrylic/plexiglass method.)
Back to the question of whether it matters to register your gel prints in the first place. For my artwork, I often don't care about perfect alignment. I frequently mount my prints to wood panels, so I'll trim the edges off anyway. And sometimes I tape my paper, like a painter would, so I can ensure a crisp, clean edge. (I also don't love the look of rounded corners created with gel plates.)
But, If I'm trying to line up elements in multiple layers, like the silhouette and texture from a fern, then I probably do care about registering my print. I also teach registration techniques in my workshops because I think it's important to understand the rules if you want to break them.
Happy Gel Printing!
3 comments
Hi, I’m wondering what you use to mount your paper onto wooden substrates?
Hi Maren. I wish you would teach online courses one could subscribe to & pay for followers in different countries of the world. That way you could also reach out to more people. Greetings from France
I agree that it isn’t always necessary, but when I don’t try to do it properly, I usually end up wishing that I had! The tip about the arrow is a good one!